This knowledge base will help you understand how to update your RICOH Direct-to-Garment printer's firmware.
 With the RICOH Ri 1000/2000, you will need to perform a firmware update from time to time to make sure your DTG printer is running efficiently and effectively. These firmware updates help to resolve some known issues and brings new features to your DTG printer.
Below are the steps on how to perform the firmware update on your RICOH Ri 1000/2000 DTG printer.
WARNING: Do not perform a firmware update unless the printer is in Ready Status
*If you own an Ri 2000 that is on firmware 1.11 or higher, you can update your Ri 2000 via a USB flash drive. For instructions on how to do this, click here to download a PDF file.
1. On your PC, download the latest firmware from our Firmware Updates Knowledge Base (Ri 2000 / Ri 1000)– the zip package will include the GManger executable file (which is the installer), GIB folder for the GIB firmware, CTL folder for the CTL firmware and SCB folder for the SCB firmware.
2. Once download is complete, Open the Printer Manager Application
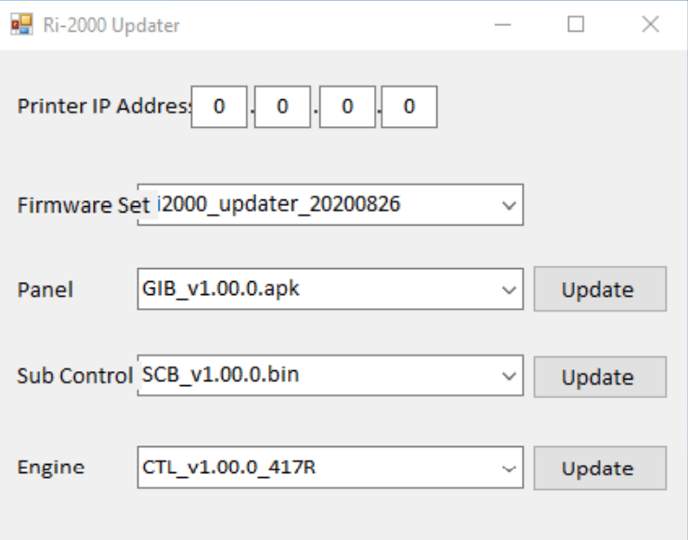
3. Enter the printer IP address for the printer needing to be updated

To find the printer IP address: tap the “Settings” button 
Then tap the “Options” button 
Then tap the “IP Address” button
4. Select the version to use for the update
5. Click the GIB F/W Update button
*Note: always update GIB or control panel firmware first prior to any firmware updates. After the GIB then update the CTL. After the CTL then update the SCB*
6. Wait for the printer to react to the update
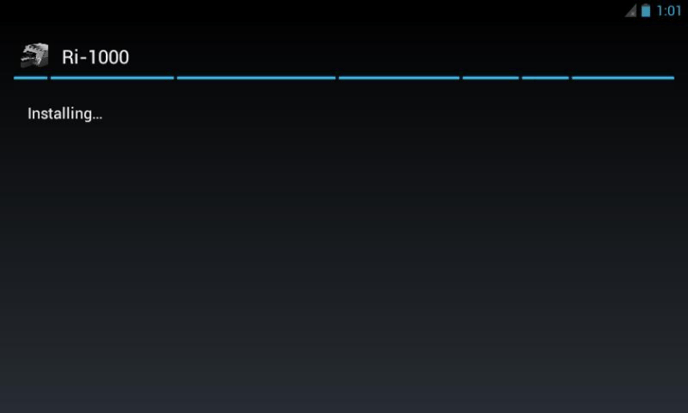
7. Click OK – then select the “Start Update” button for the GIB. The screen on the printer will then show the image below
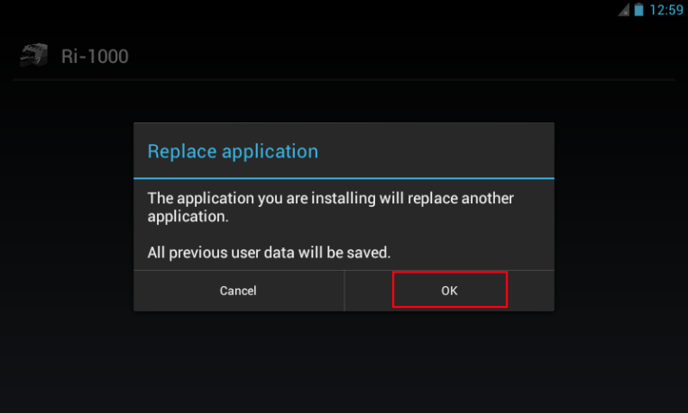
8. Click the “Install” option on the screen to continue
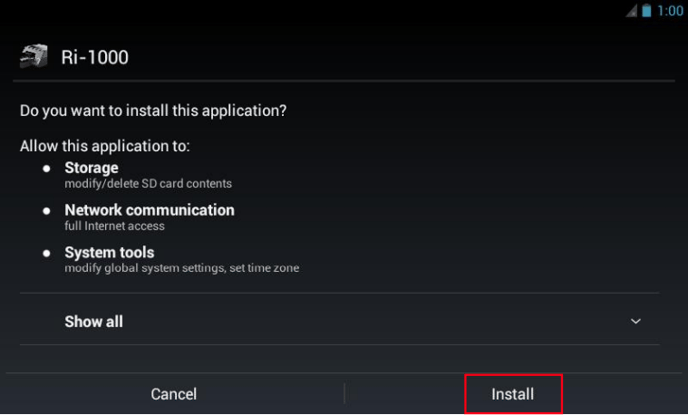
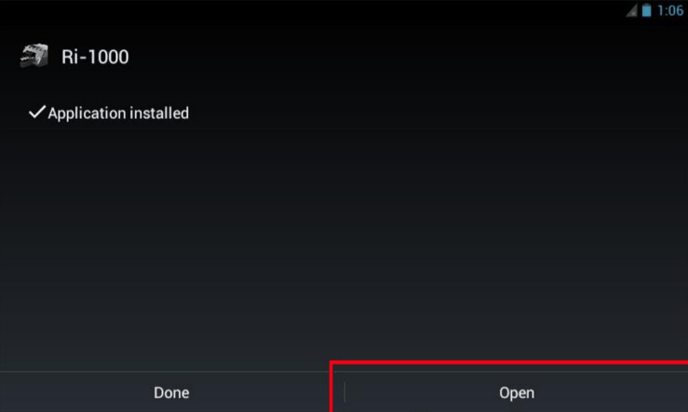
9. Then select “Open”
10. Then update the CTL firmware in the same manner. Press the CTL F/W Update button on the GManager. After the update complete message shows up select “OK” then “Start Update” and the screen below will show up while the printer is updating. Wait for the message to disappear before proceeding.
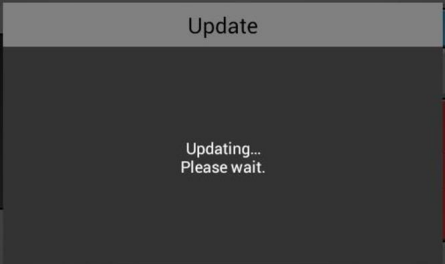
11. Then update the SCB firmware in the same manner. Press the SCB F/W Update button on the GManager. After the update complete message shows up select “OK” then “Start Update” and the screen below will show up.
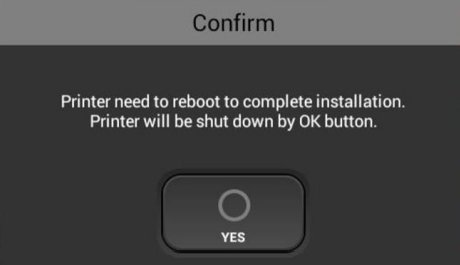
12. Select Yes and the printer will restart to complete the update.
13. To verify that the update was successful go to the “Information” section in the “Settings” tab
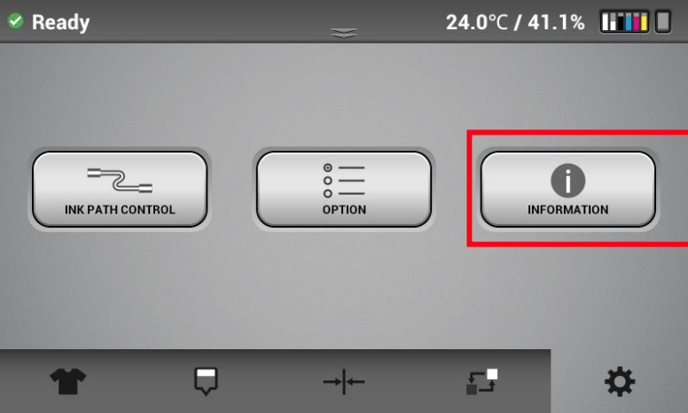
14. Verify the Firmware version matches the one installed
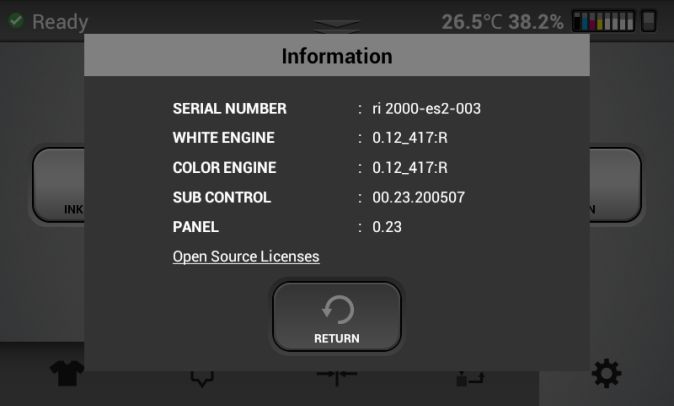
15. Select Return to close the Information window.
16. The DTG Printer’s firmware has been updated.
Submit a Support Ticket if you have any issues so one of our technicians can reach out and troubleshoot with you.